Great product images are one of the most important factors when putting together a digital catalogue - with great images leading to a 3-5% uplift in orders. However, this doesn't mean you need a full scale production of a photoshoot. With a few simple tips and tricks you can take some great product shots just by using an iPhone.
In one of our previous posts, we discussed how adding great product images to your digital catalogue can help you increase your orders. Without good images, your customers won't have a good understanding of the products you are selling, and be skeptical of the quality. After all, no one wants to see a catalogue with this:

To avoid the dreaded 'No Image Available' you don't need to hire a professional photographer to make your images truly stand out (although, given the increase in sales that typically results, it isn't a bad investment). However, if you're just started out or on a tight budget, you can simply take the photos yourself using a DSLR camera or even an iPhone.
Many of us often underestimate the power of mobile phones when it comes to food photography. It is easy to forget that that these small devices can produce some really good artistic results so long as you follow certain photography rules. Proper styling, lighting, and angles all make a difference.
Here are seven of our favorite tricks for taking beautiful food photos with your iPhone:
Shoot In Natural Light: As much as possible, use natural light when photographing food. It will make your products look more appealing and flattering, and will bring out their true colors. Remember, colors are important in digital catalogues because they give customers an accurate idea of the item.
To shoot in natural light, place a table near a window and photograph your food from there, or even get outdoors for better lighting. Be careful not to shoot in direct sunlight, however, as the shadows it will cast can detract from the highlight of your photo - your food.
If you've only got one source of natural light (i.e. one window) and you're getting shadows, hold up a piece of white cardboard, paper or even a napkin on the opposite side to reflect the light. Or if it's too much, your white paper can make a great filter between the light and your subject.
Never use your iPhone’s flash: When taking food photos, try not to use the automatic flash of your iPhone. Most of the time, it produces a harsh glare that makes your images look low-quality. It’s also not preferable to use artificial lighting, such as led lights or lamps in iPhone food photography because they create an ugly yellow shade on your photos.
Shoot fresh food: We’re sure you wouldn’t want your food products to look bland and unappetizing in your catalogue. So, always photograph them while they’re still fresh. This will show their true texture and colors and will enhance their overall visual appeal.
Choose a good background: A basic rule in photography is to never use a background that’s too messy because it will draw your customers’ attention away from the real subject.
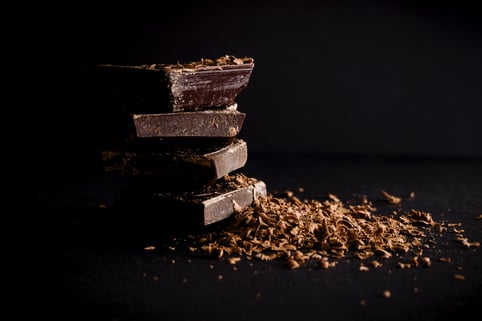
There are two kinds of backgrounds you can use - black and white. White backgrounds are common in digital product catalogues because they look more professional. Though black backgrounds and those with patterns or floral prints also work. A really good trick is to place light-colored food on a light background, and dark food on a dark background. It will make your catalogue look unique. Below are two examples:
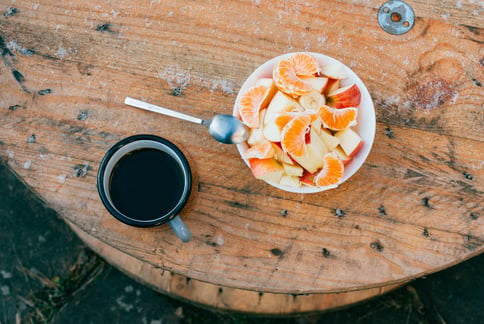
Play with angles: Bird’s eye view or overhead shot, straight-on, and front ¾ angle views are the basic types of angles in food photography. The angle to choose depends on the food you are going to photograph. Though there’s no harm in trying out all three to see which one works best.
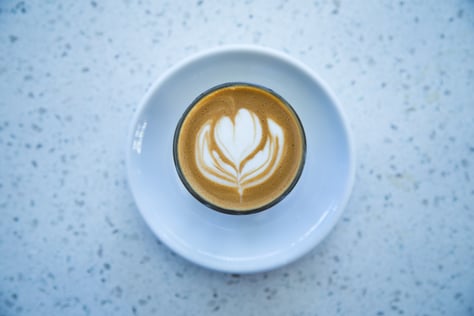
Essentially, if you’re taking a picture of a latte art, the best angle is overhead because it will let your customers see the art clearly. Just like this one:
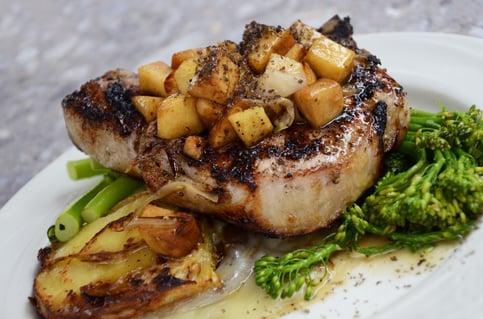
The overhead shot is often the most popular (with iPhone shots especially) because they are easiest. However, they are best reserved for items where the detail on top is the most important. For most foods, you'll want to show depth, texture and size, so a ¾ angle view is going to be the best way to achieve this.
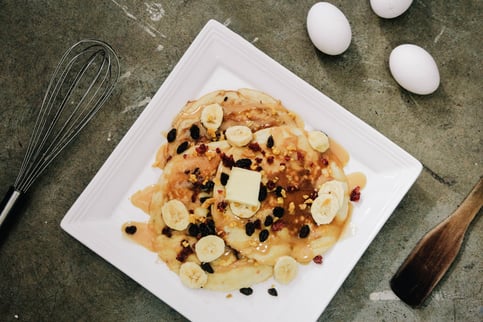
The ¾ angle works great on almost any food because it captures the top, front, and sides of the subject. So if you’re not sure what angle to use for your product images, the ¾ angle is a safe choice. See how chunky these pastries are in this shot below:

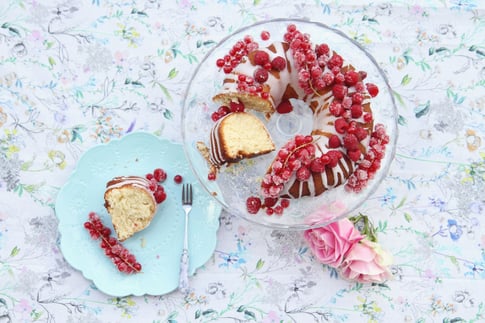
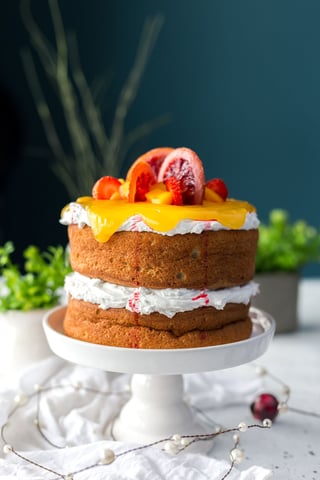
The straight-on angle, meanwhile, is ideal if you’re taking photos of your best-selling cakes and desserts because it will show your customers all the layers and the fillings. Here’s a good example:
Style your food: Your iPhone’s camera may not have the full suite of features that a digital SLR camera would, but so long as you know how to style your food, you can produce beautiful still-life photos. Styling is essential because it adds “character” to your images and will catch the eye of anyone browsing through your digital catalogue.
There are several ways you can style your food. One of them is using 2-3 plates (or bowls) in a single frame. This is great to add variation to your product image. Make sure to only use plain and white plates to maximise the emphasis on the food.

Another secret is to place ingredients in the background. Coffee beans, vegetable leaves, breadcrumbs, or eggs are just a few of those you can use, and give a subtle, artisanal look to your goods - reinforcing that they aren't mass produced. Take a look at these shots:

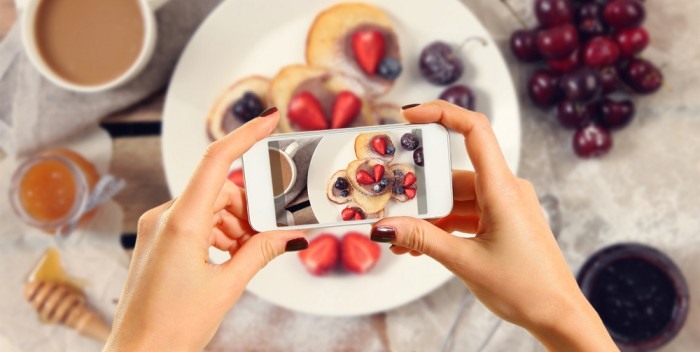
Do close-up shots: If you lack talent in food styling, don't stress, just keep your shots up close and let the beauty of your goods shine through. After all, your digital catalog is all about your products.
Photographing close-up food photos is super easy with iPhones. Make sure to tap the your screen on where the closest point is, so it adjusts the focus. Try to avoid focussing on parts of the image that are actually further away - this is confusing to the eye and looks unprofessional.
No matter what happens, never use the camera zoom as it will make your images blurry and will lessen their quality. Just get in as close as you can!
Close up shots are great for playing around with composition. Try to ensure the main focus is in the center, and play with angles for the background items. Having 'lines' that guide the eye to the main, centered item works well, like the example below where the rows of cupcakes draw the eye to the center one:

These are just a few tricks you can use to taking great food photos with your mobile phone. In short, our low budget food photography rules are:
- Never use the flash or artificial lighting
- 3/4 angles work best most of the time
- Always shoot in natural light
- Use a bit of styling, but don't distract from the food you want to show off
- If in doubt, get in close
- Never have a blank/missing image in your product catalogue.
As you can see, you don’t need expensive cameras or lighting equipment to come up with great product images. A little skill and knowledge in iPhone food photography can help you go a long way and avoid committing the cardinal sins of repeated/generic/non-representative images, or worse - non at all!